Light-painting with the Delta
Scott
We created a robotic light-painting process targeted at creating animations with long-exposure photographs. This post summarises our custom animation-to-motion pipeline, the actual capture and post-processing steps, and some results!
TLDR: Our process renders '3D holograms' into the environment over a couple of minutes, allowing for high fidelity animations in and around real-world objects. Skip to the results section if the how isn't interesting for you.
How light painting works
Controlling a camera's shutter speed allows photographers to choose the specific duration of in a single photograph. By selecting longer exposure times, more light hits the film or digital sensor (temporally integrating the photons reflected by the scene).

This characteristic is often used to capture images in otherwise pitch black areas, image dim objects like stars, and often used as a creative tool.
Preparing the DeltaBot
I covered the delta-bot creation in one of our earlier blog posts.
The use of a rotary delta design was an important part of the design process, as other common robotics platforms like cartesian gantries will have a static frame surrounding the work area which would be more visible in captured exposures.

Motion Handling
As the delta's kinematics, path planning and motion execution engines are built from scratch, I designed the motion handling systems to operate in time domain, rather than velocity domain as commonly found with CNC machines and typical robotics.
I haven't seen this done before and thought that having a "hard" timing constraint on motion was an interesting concept to play with, especially given the use of this system with long exposures where we want deterministic timing to reduce per-line exposure differences.
For a given movement command the delta will ensure completion within the specified duration (assuming actuators can physically rotate fast enough). The main tradeoff made with this style of system is the loss of motion accuracy as target durations get smaller, as the same geometry would have fewer 'steps' to interpolate across.
Given the motion handler, trajectory planning, kinematics, and servo supervisors run at 1KHz, the tradeoff in geometric resolution is rarely noticed. It just means that we need to 'pre-check' a movement before execution to enforce velocity limits for safety, rather than clamping the requested feed-rates.
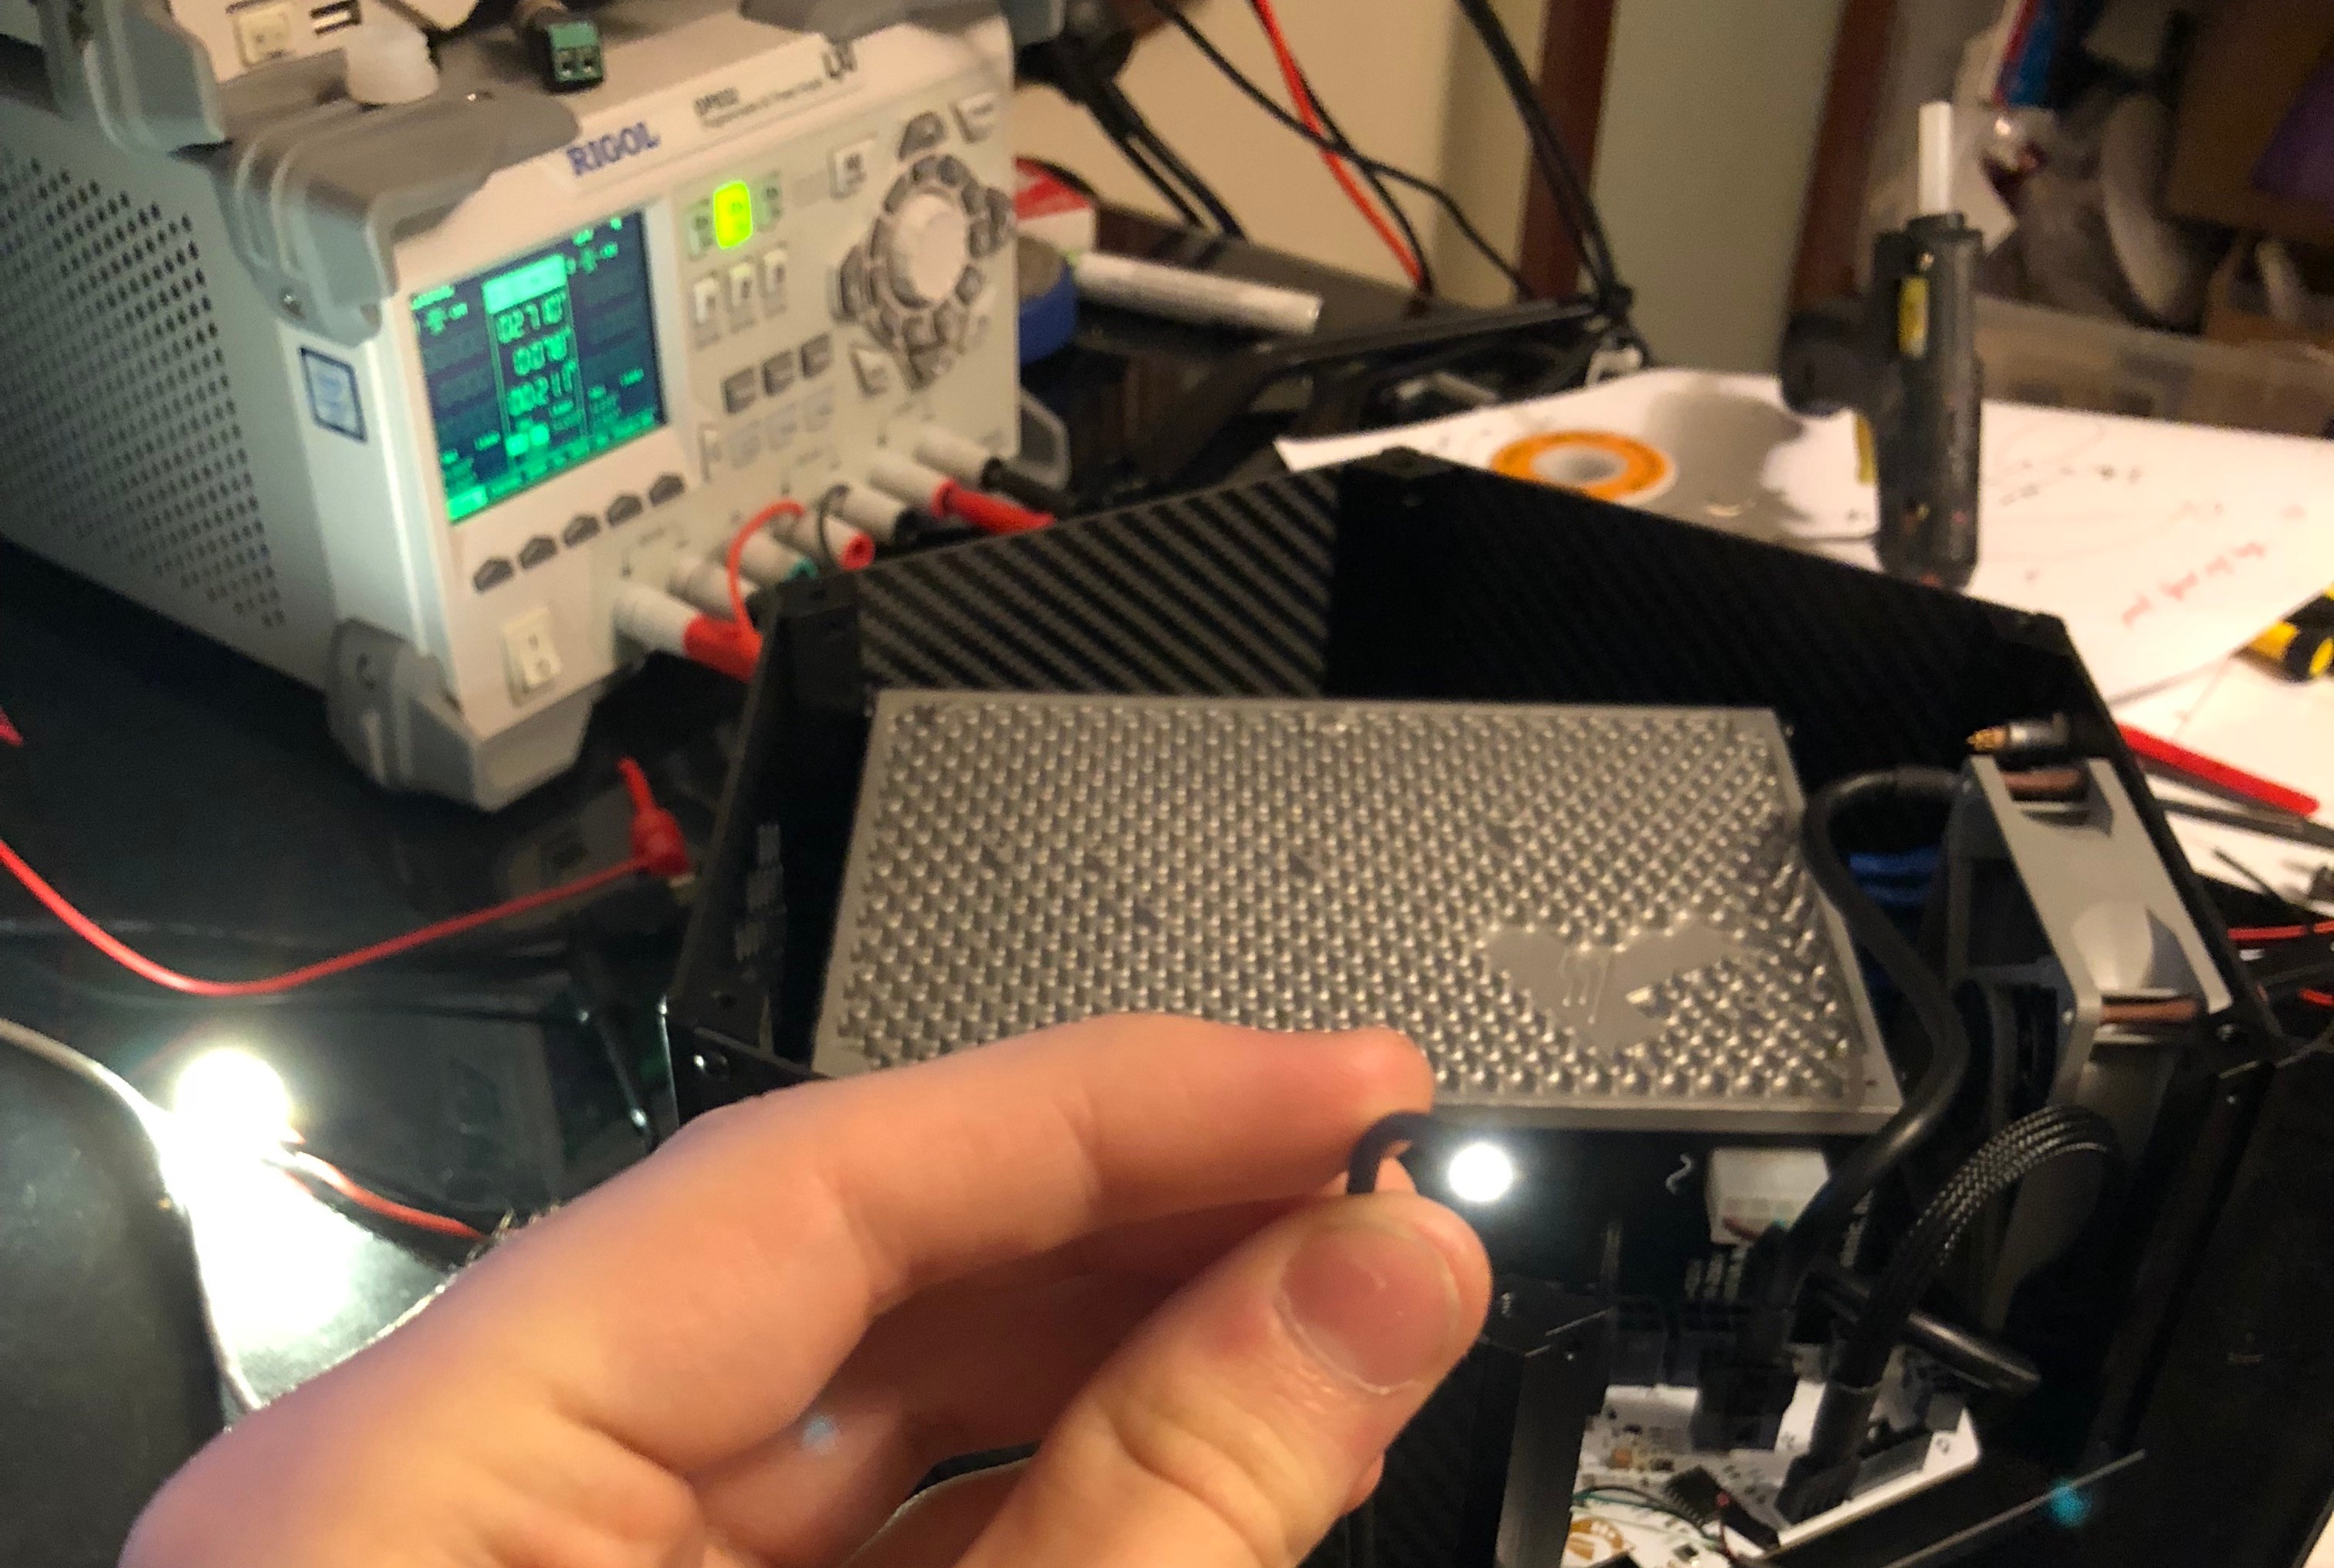
Light Source
The ability to create and shape the light is one of the most important aspects of the project.
Conceptually, I could have used a bare LED, a strip of LEDs, or even a small display as the light source, but instead opted to mount a piece of plastic fibre optic cable, as there is no mass or electronics to move, and there is potential for high power lighting through a small exit area.
Aliexpress sourced 1.0mm fibre (with a black PVC insulation to prevent side glow), and some small 3W white LEDs helped prototype the 'light-brush'. The results seemed promising, and I could move on to the rest of the design.
High power RGB capable LED's are available in similar form factors, with reasonably cost effective supply from Sparkfun and Adafruit.
I designed a custom driver PCB to drive the RGB LED. It accepts a wide input voltage range, and can drive up to 500mA per channel. This driver differs from some other multi-channel drivers, supporting a common anode connection to the LED.
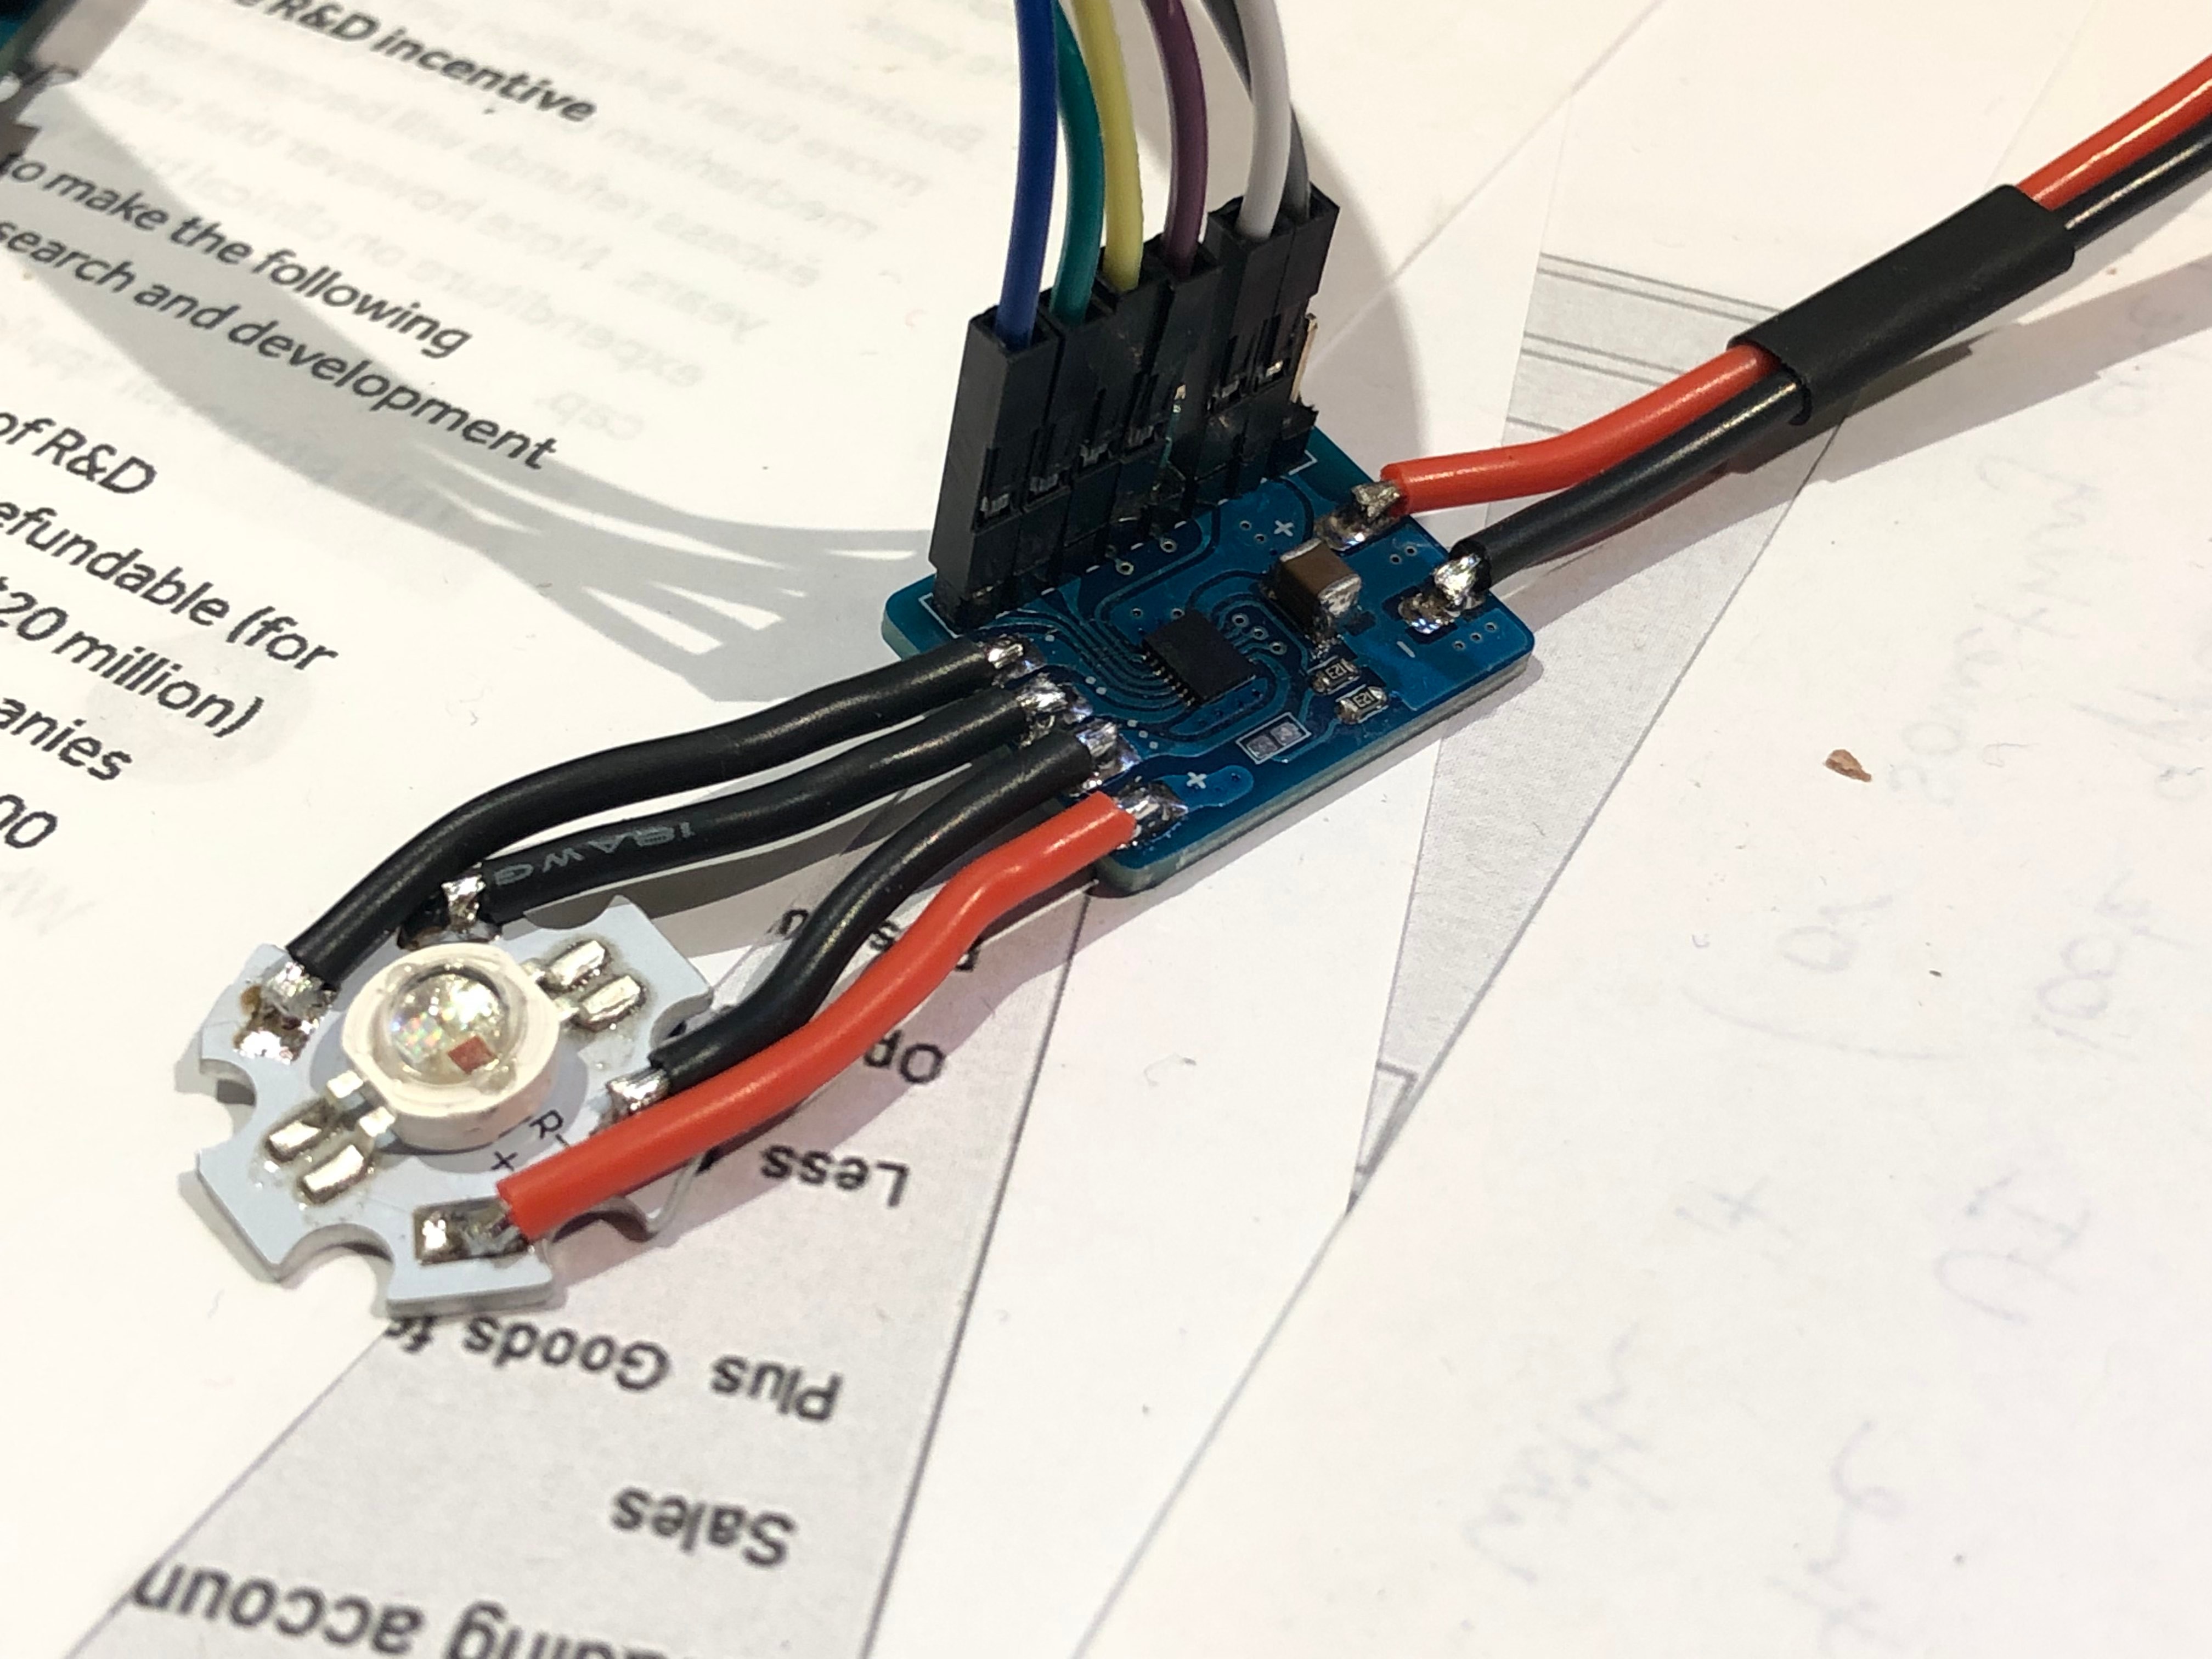
The colour is controlled with 16-bit PWM outputs from the Delta's control PCB, as well as support for the driver's ENABLE and FAULT pins.
Mounting
To mount the fibre to the end effector, a little mount was machined out of delrin.
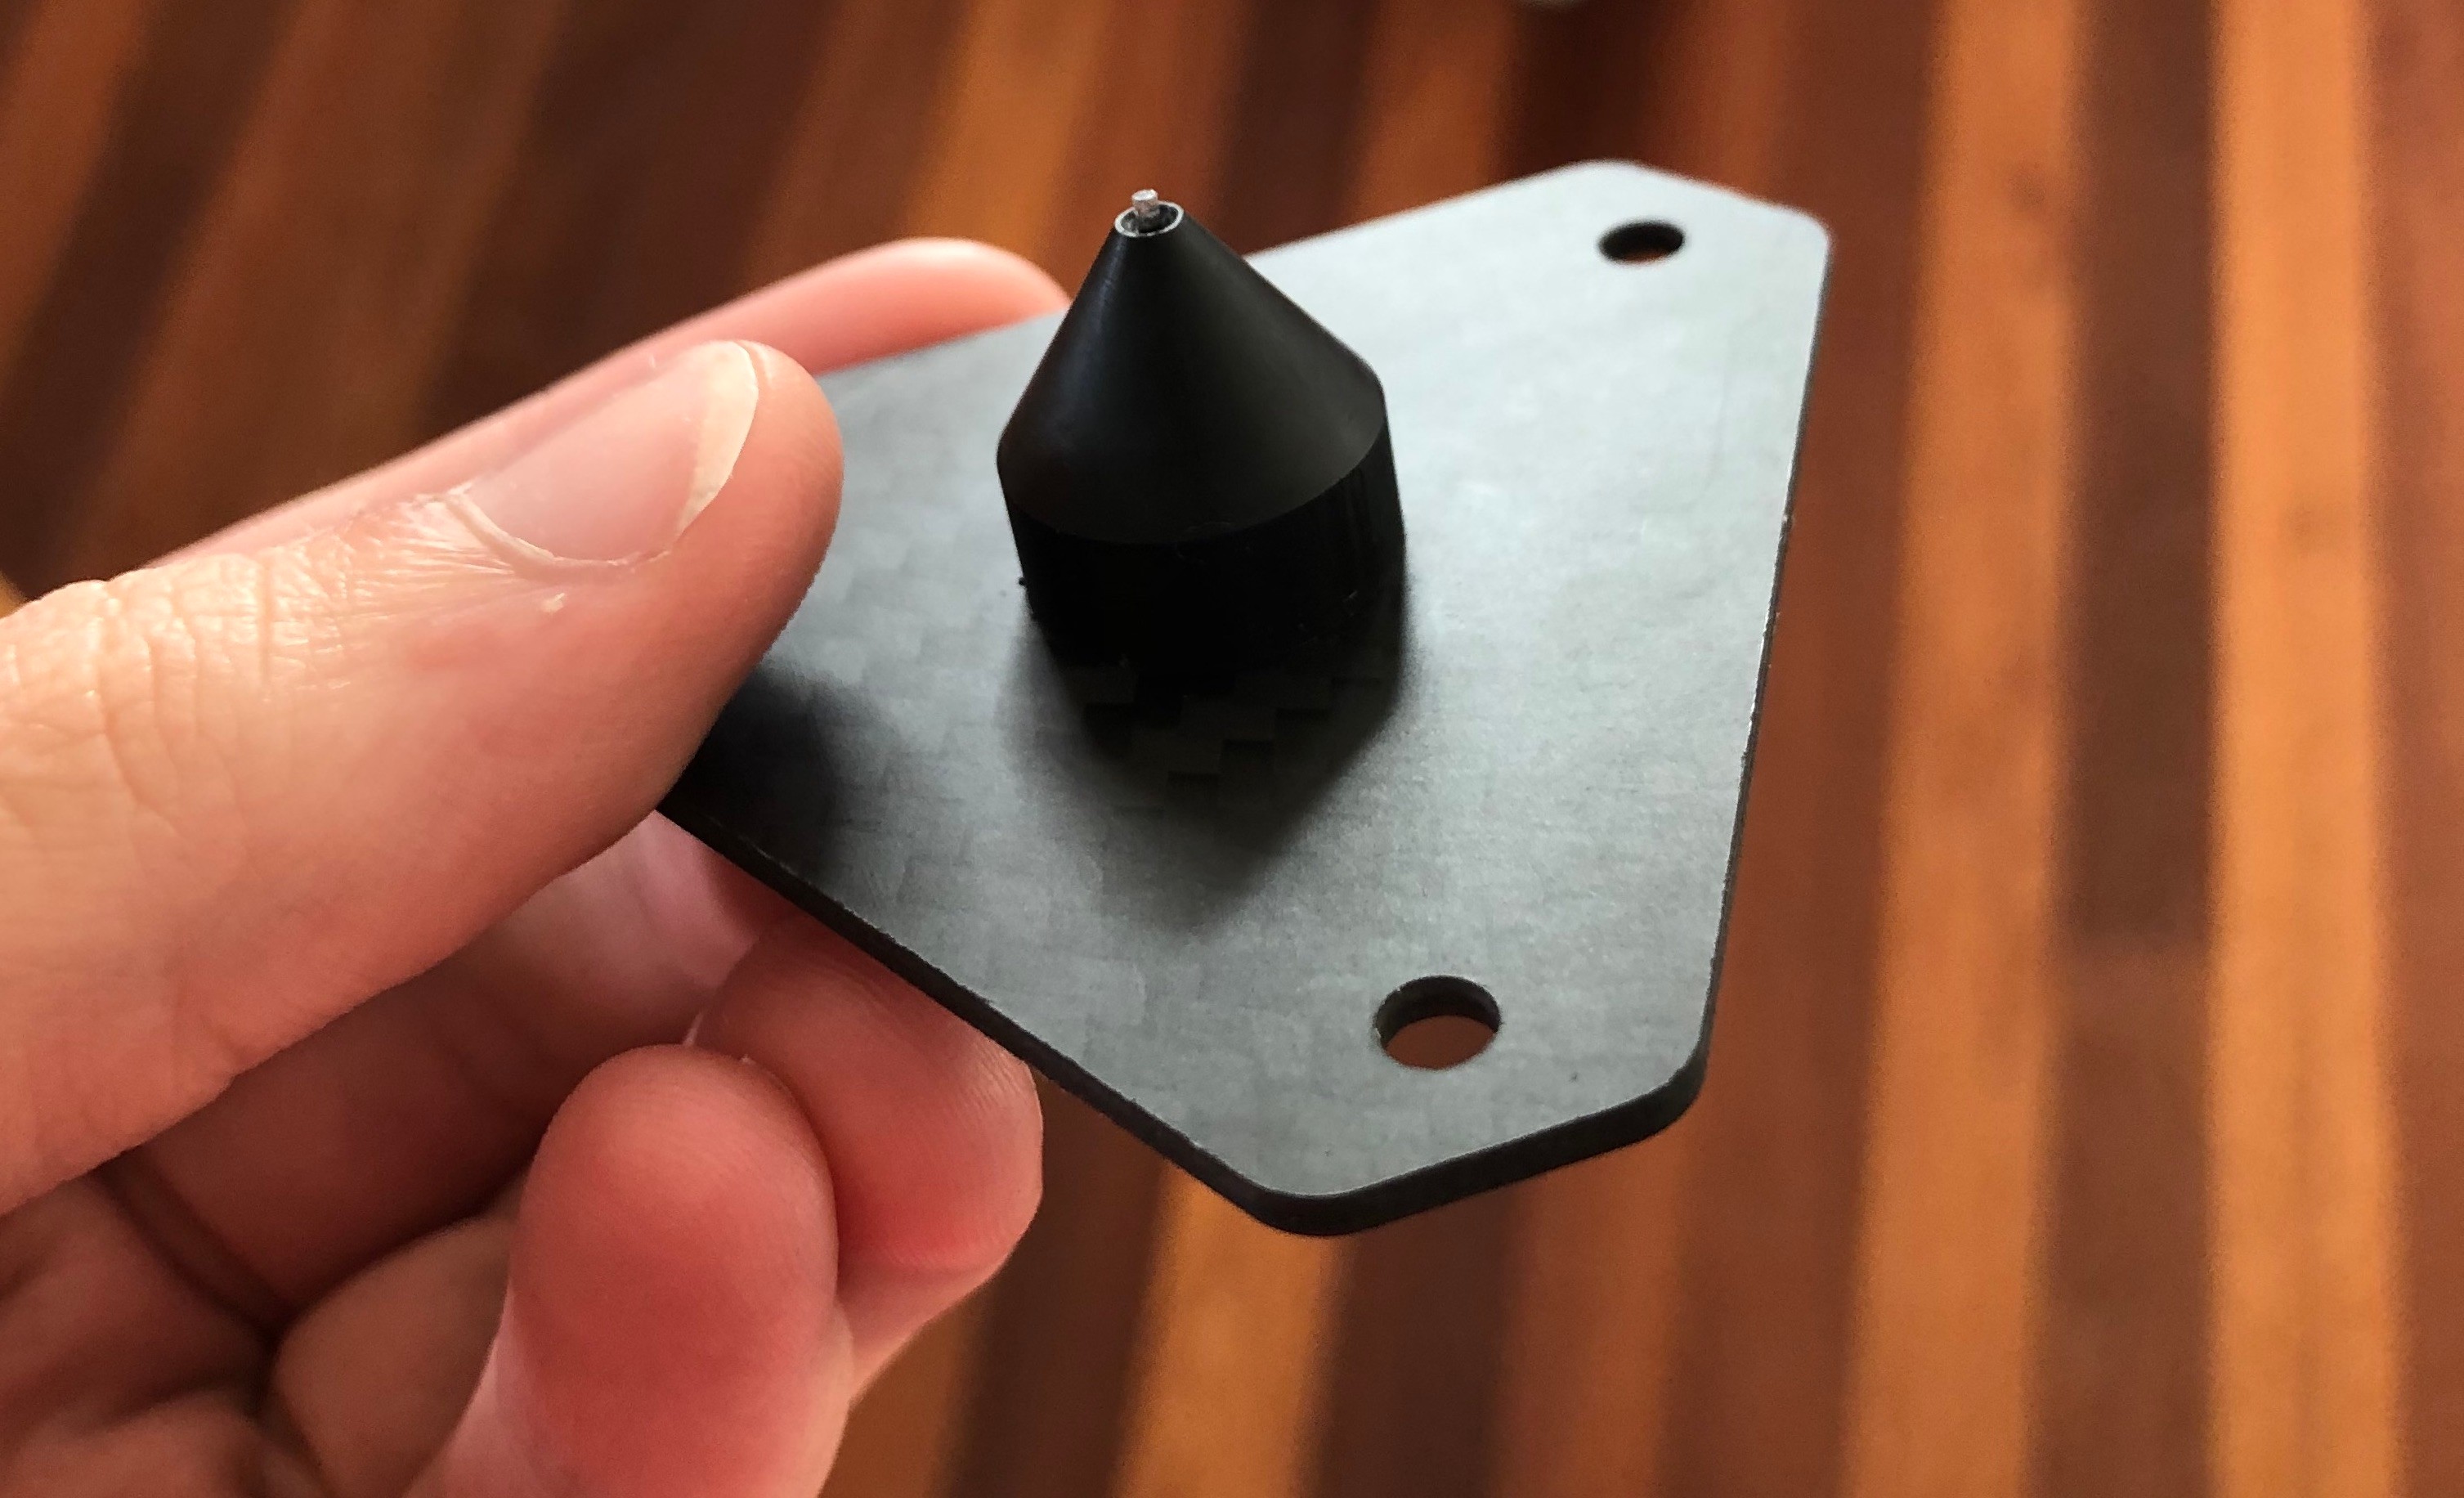
The bigger issue was how to mount the LED to the fibre, as theres no easy way to join a 6mm LED lens to a 1mm acrylic core. I tried a few options:
-
Hot gluing the end of the fibre to the lens,
-
Drilling a small hole into the lens, and inserting a stripped back piece of the acrylic core, then bonding with superglue,
-
Drilling a lens-shaped hole into a block of material, with a thinner hole for the fibre and just 'pushing them against each other'.
The last option worked best, as glues had a habit of melting or deforming, and the light output efficiency differences couldn't be noticed in tests.
Planning animations
The pipeline to render out a custom scene was more work than I initially anticipated. We've essentially had to create an exporter for Blender's spline and particle primitives, a toolpath generation program, and a pipeline to create lighting control commands from UV maps.
Geometry creation in Blender
Our general modelling and animation process is somewhat pedestrian, we visualise the delta's work area with a reference object, and can test render using Cycles/Eevee by setting geometries to use an emissive material.
Our pipeline allows us to model with Polysplines (straight lines), NURBS curves (catmull-rom splines), and can also supports particle systems which are rendered as points in space. Tooling supports animations by stepping through each frame of Blender's timeline and exporting contents into a unique folder.
To achieve more complex geometries, the Animation Nodes plugin opens up some interesting options. We've been particularly interested by wrapping splines around meshes, and there's a pretty cool way of doing that with Animation Nodes.
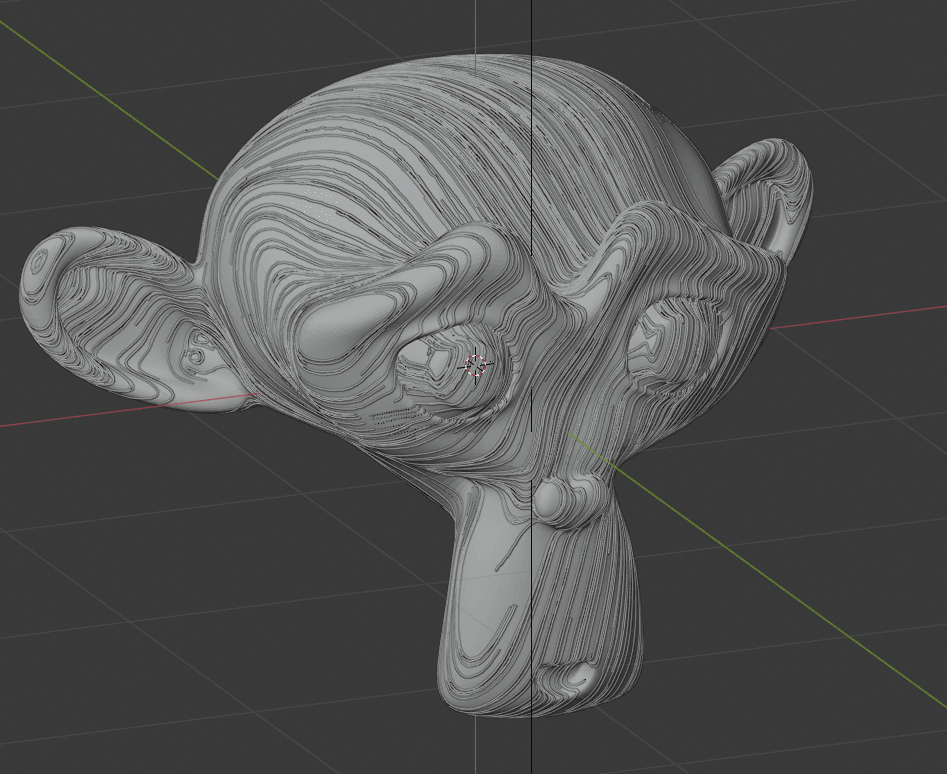
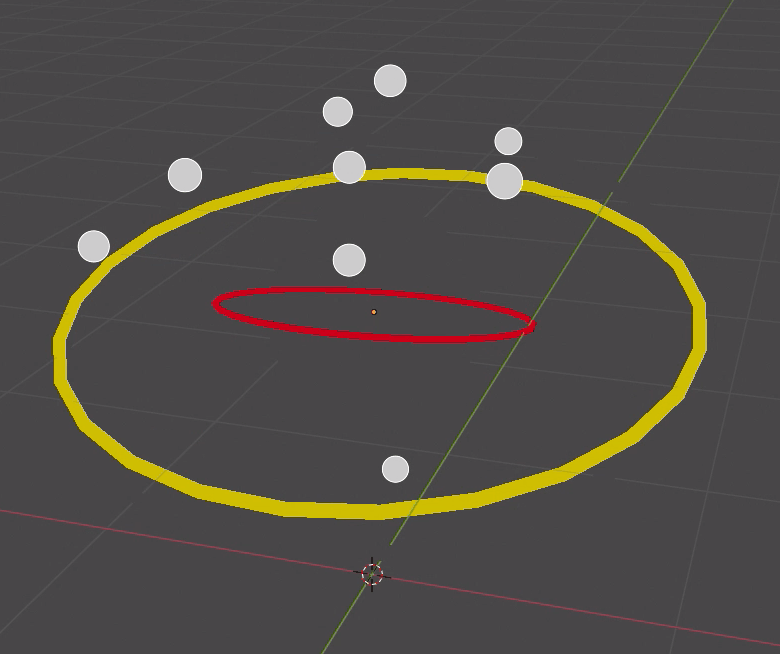
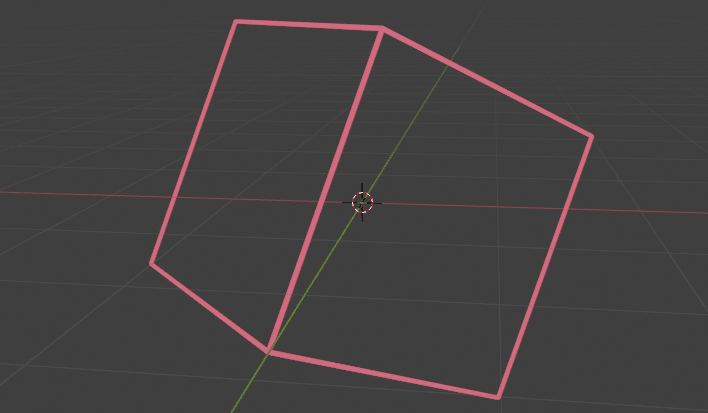
We've also developed approaches to trace the silhouette of meshes as a series of 3D polysplines, and this process also performs occlusion culling so no back facing geometry is rendered. This is a simple example with the default cube.
Lighting Control
While single coloured splines are cool, we also want sub-spline level control of the colouring. Michael achieved this by supporting UV maps on the splines.
IMG of what it looks like in the workspace
IMG of nodes
Blender Export Script
To export an animation sequence, we simply need to load our script in the Scripting tab, hit run, and cross our fingers hoping it doesn't crash (which it does often due to memory leaks etc).
The script outputs a folder structure of frames, where each frame folder contains a representation of Blender's object collections. These collection folders contain json formatted point or particle lists which represent the geometry for the given frame, and an optional png file representing the UV map of the spline.
.├── 1│ ├── Circle│ │ ├── Circle_0.json│ │ └── Circle_uv.png│ ├── Inner Circle│ │ ├── InnerCircle_0.json│ │ └── InnerCircle_uv.png│ └── Particles│ └── PartSphere_0.json├── ...│ ├── ...|├── 120│ ├── Circle│ │ ├── Circle_0.json│ │ └── Circle_uv.png│ ├── Inner Circle│ │ ├── InnerCircle_0.json│ │ └── InnerCircle_uv.png│ └── Particles│ └── PartSphere_0.jsonThe json contains some metadata like the curve length as calculated by Blender, if the chain is a closed loop, and a flat list of (x, y, z, w) points:
{ "curve_length": 6.26666259765625, "points": [ [ 0.968583, 0.248349, 0.013015, 0.0 ], [ // many many more points ], [ 0.968583, -0.248349, -0.013015, 0.0 ] ], "type": "poly", "uv": "./Circle_uv.png", "cyclic": true}Motion Path Translation
Once we have our geometry data out of Blender, we need to generate a series of matching movement and lighting instructions suitable for the delta to draw.
To accomplish this, I wrote a translation and toolpath generation program in Rust
It roughly behaves like this:
- Walk the file tree looking for frames of suitable data,
- For each bit of geometry, it ingests the geometry.json and uv.png files,
- Scales, offsets and culls the coordinates to fit into the delta's units system and achievable volume,
- Processes the UV map into a nicer data structure ready for processing
- Closes gaps in cyclic geometry, sorts particle system points to reduce draw time, etc
- Creates data ready for ingest by the delta
- Adds transit movements to get the toolhead to the geometry start point if required,
- Calculates the required duration for a slice of geometry,
- Formats a small series of points to execute that section of the spline,
- Decides what lighting needs to occur during that slice of time, where lighting is solved as a series of fades over time. These fades are reduced by clustering points based on visible distance from each other.
- Exports data as a series of duration domain events into json files,
- Runs through the frame and creates preview line chains and UV maps for the UI to display,
- Creates a summary json file to let the UI find the exported files easily.
A toolpath file usually looks something like this (but much longer):
{ "metadata": { "name": "particles", "formatVersion": "0.0.3" }, "actions": [ { "delta": [ { "id": 1, "action": "queue_movement", "payload": { "type": 0, "reference": 0, "id": 1, "duration": 500, "points": [ [ -48.9817, -11.9129, 27.5945 ] ] } }, { "id": 2, "action": "queue_movement", "payload": { "type": 0, "reference": 1, "id": 2, "duration": 10, "points": [ [ 0.0, 0.0, 0.0 ] ] } }, { "id": 4, "action": "queue_movement", "payload": { "type": 1, "reference": 0, "id": 3, "duration": 10, "points": [ [ -48.9817, -11.9129, 27.5945 ], [ -49.7189, -12.1366005, 27.519001 ] ] } }, { "id": 7, "action": "queue_movement", "payload": { "type": 4, "reference": 0, "id": 4, "duration": 208, "points": [ [ -49.7189, -12.1366005, 27.519001 ], [ -50.121727, -12.082899, 27.61119 ], [ -89.59907, -6.8202014, 36.64581 ], [ -90.0019, -6.7665005, 36.738 ] ] } }, ... { "id": 298, "action": "queue_movement", "payload": { "type": 1, "reference": 0, "id": 150, "duration": 10, "points": [ [ 6.0383, -89.615295, 41.391 ], [ 6.0383, -89.615295, 41.391 ] ] } } ], "light": [ { "id": 5, "action": "queue_light", "payload": { "type": 0, "id": 3, "duration": 10, "points": [ [ 0.0, 0.0, 1.0 ] ] }, "comment": "" }, ... ... { "id": 299, "action": "queue_light", "payload": { "type": 0, "id": 150, "duration": 10, "points": [ [ 0.0, 0.0, 1.0 ] ] }, "comment": "" } ], "run": [ ... ... ] } ]}This interchange json layout grew organically during development and probably doesn't make complete sense, as we've got a mix of strings to define how the action should be handled by the UI, and C-style enum values for the motion type and reference frames.
The summary file is pretty straightforward, providing entries for each toolpath file, viewer data and viewer UV files, and some metadata:
{ "collections": [ "Circle", "Inner Circle", "Particles" ], "frames": [ { "frame_num": 1, "collections": [ { "name": "Circle", "toolpath_path": "./1/circle_toolpath.json", "duration": 3625, "first_move": 1, "last_move": 26, "num_lights": 2, "viewer_vertices_path": "./1/circle_vertices.json", "viewer_uv_path": "./1/circle_uv.png" }, { "name": "Inner Circle", "toolpath_path": "./1/innercircle_toolpath.json", "duration": 2050, "first_move": 1, "last_move": 26, "num_lights": 2, "viewer_vertices_path": "./1/innercircle_vertices.json", "viewer_uv_path": "./1/innercircle_uv.png" }, { "name": "Particles", "toolpath_path": "./1/particles_toolpath.json", "duration": 11048, "first_move": 1, "last_move": 150, "num_lights": 150, "viewer_vertices_path": "./1/particles_vertices.json", "viewer_uv_path": "./1/particles_uv.png" } ] }, ... ... ... ]}The delta's user interface loads the summary file, displays the preview geometry in a ThreeJS window, parses a given frame's files, and can then pool the events into the delta's execution queues.
Rough tests started looking reasonable, with geometry matching that of primitives in Blender, with fairly complex colouring controlled by the UV mapping process.
After these simple tests started showing promise, there was about a fortnight's worth of cleanup and fine-tuning to improve toolpath generation, UI side file load and queuing, and refactor of the motion handling in firmware to close small gaps and timing issues.
Camera Control
The delta hardware has some spare IO accessible through a LEMO connector on the rear panel. The external E-STOP pendant breaks out this LEMO connector with a few meters of cable, and provides a socket for a N3 shutter plug suitable for the shutter release on our Canon DLSRs.
We originally added support for USB control of cameras to Electric UI using
gphoto2, and while this offered UI side control over exposure settings, camera configuration and even image previews + copy, it didn't support arbitrary length/BULB exposure timing.So we had to trigger the camera the 'old way'.

The translation program's summary file specifies the expected movement durations for each object in a frame. When the UI sends a 'start painting' command to the delta, it instructs the delta to trigger the camera's shutter in bulb mode for the exact amount of time needed.
We break a given frame into a series of exposures based on each object in the Blender collections stack, then stack the images in post. This lets us achieve lower noise images, and lets us colour grade individual objects to tweak colour or brightness.
Most importantly, this lets us reduce lost time when an exposure is interrupted. Its also great if we want to add just one little object to the scene without redrawing everything.
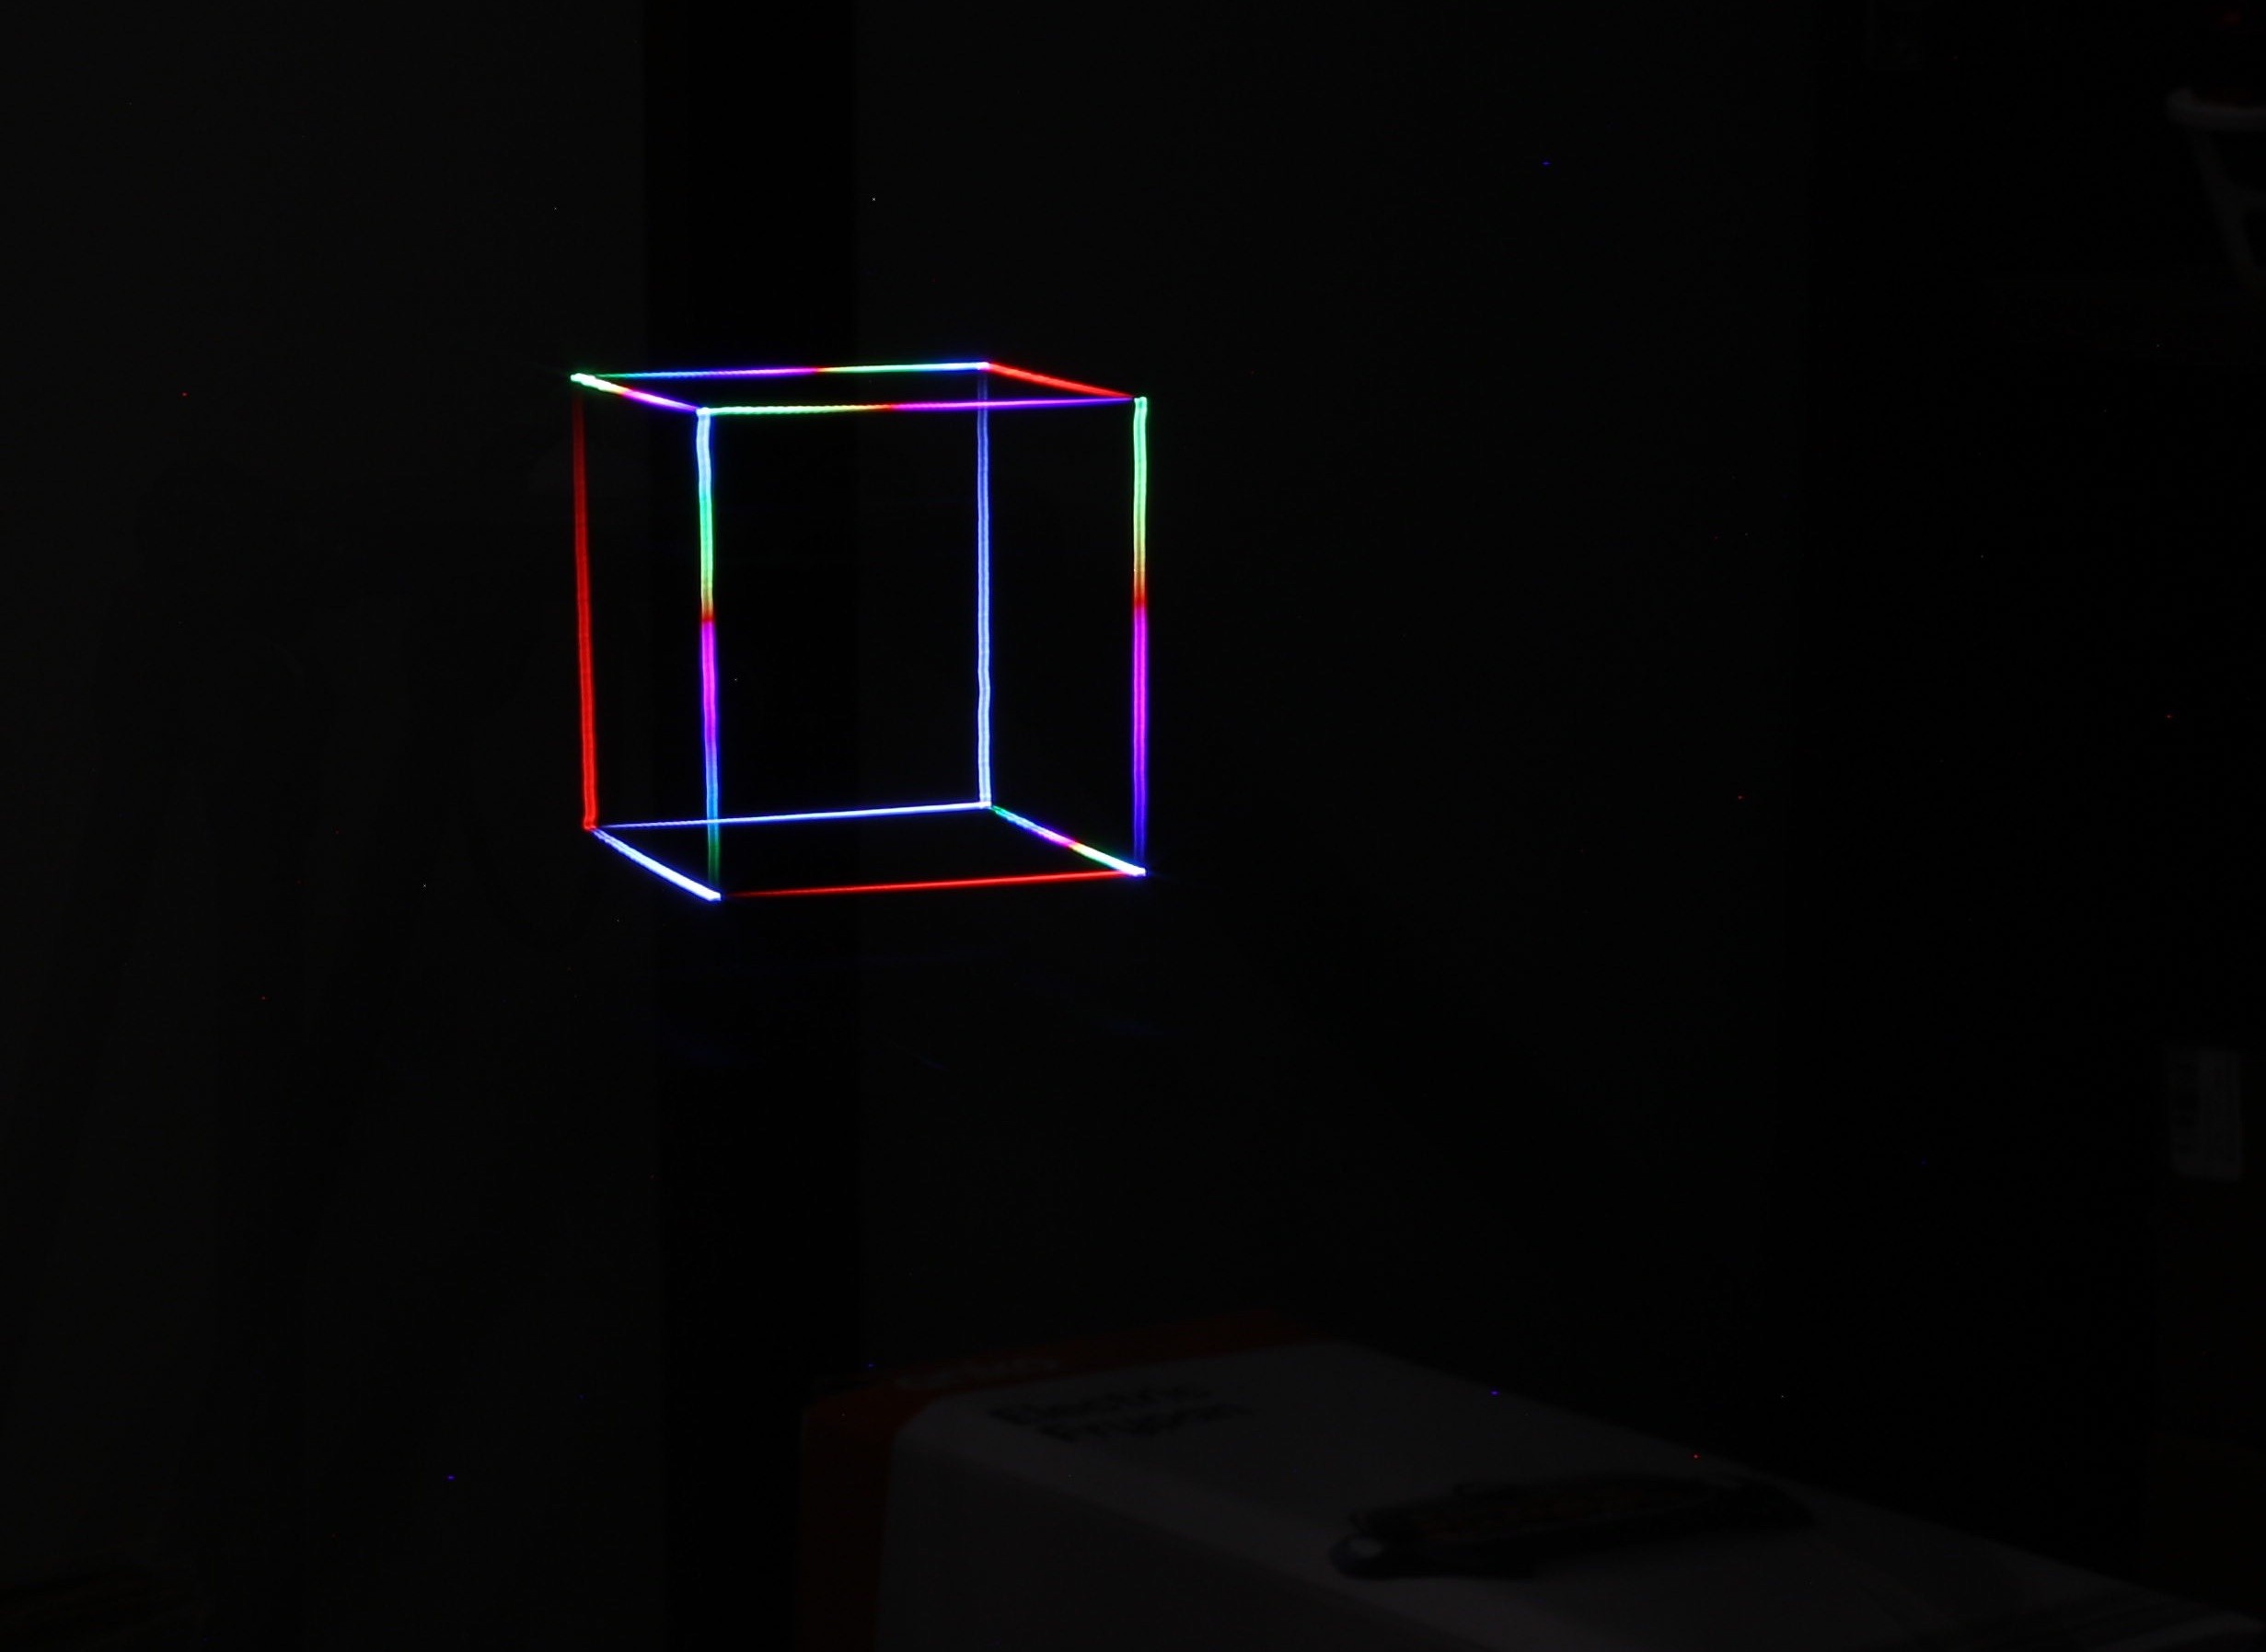
Light Painting
We capture images with a tripod mounted Canon 6D or 5D3. For tests so far, it looks something like this:

As the animation is rendered as a series of photos per frame, we need to combine the stacks for a given frame, and then combine stacked frames into a video.
For quick tests, we stack images with ImageMagick.
imagemagick convert *.jpg -background white -compose darken -flatten result.jpgThen use FFmpeg to stitch frames into a video.
ffmpeg -framerate 30 -pattern_type glob -i '*.jpg' -c:v libx264 -pix_fmt yuv420p output.mp4For more involved post-processing, we use DaVinci Resolve to edit and grade the finished animations.
One of the great benefits of shooting with a ~20Mpix DSLR in raw, is the massive amount of colour information available with a >6k resolution.
Results
While the process is a little involved, we've had some cool preliminary results with both stills, and animations.
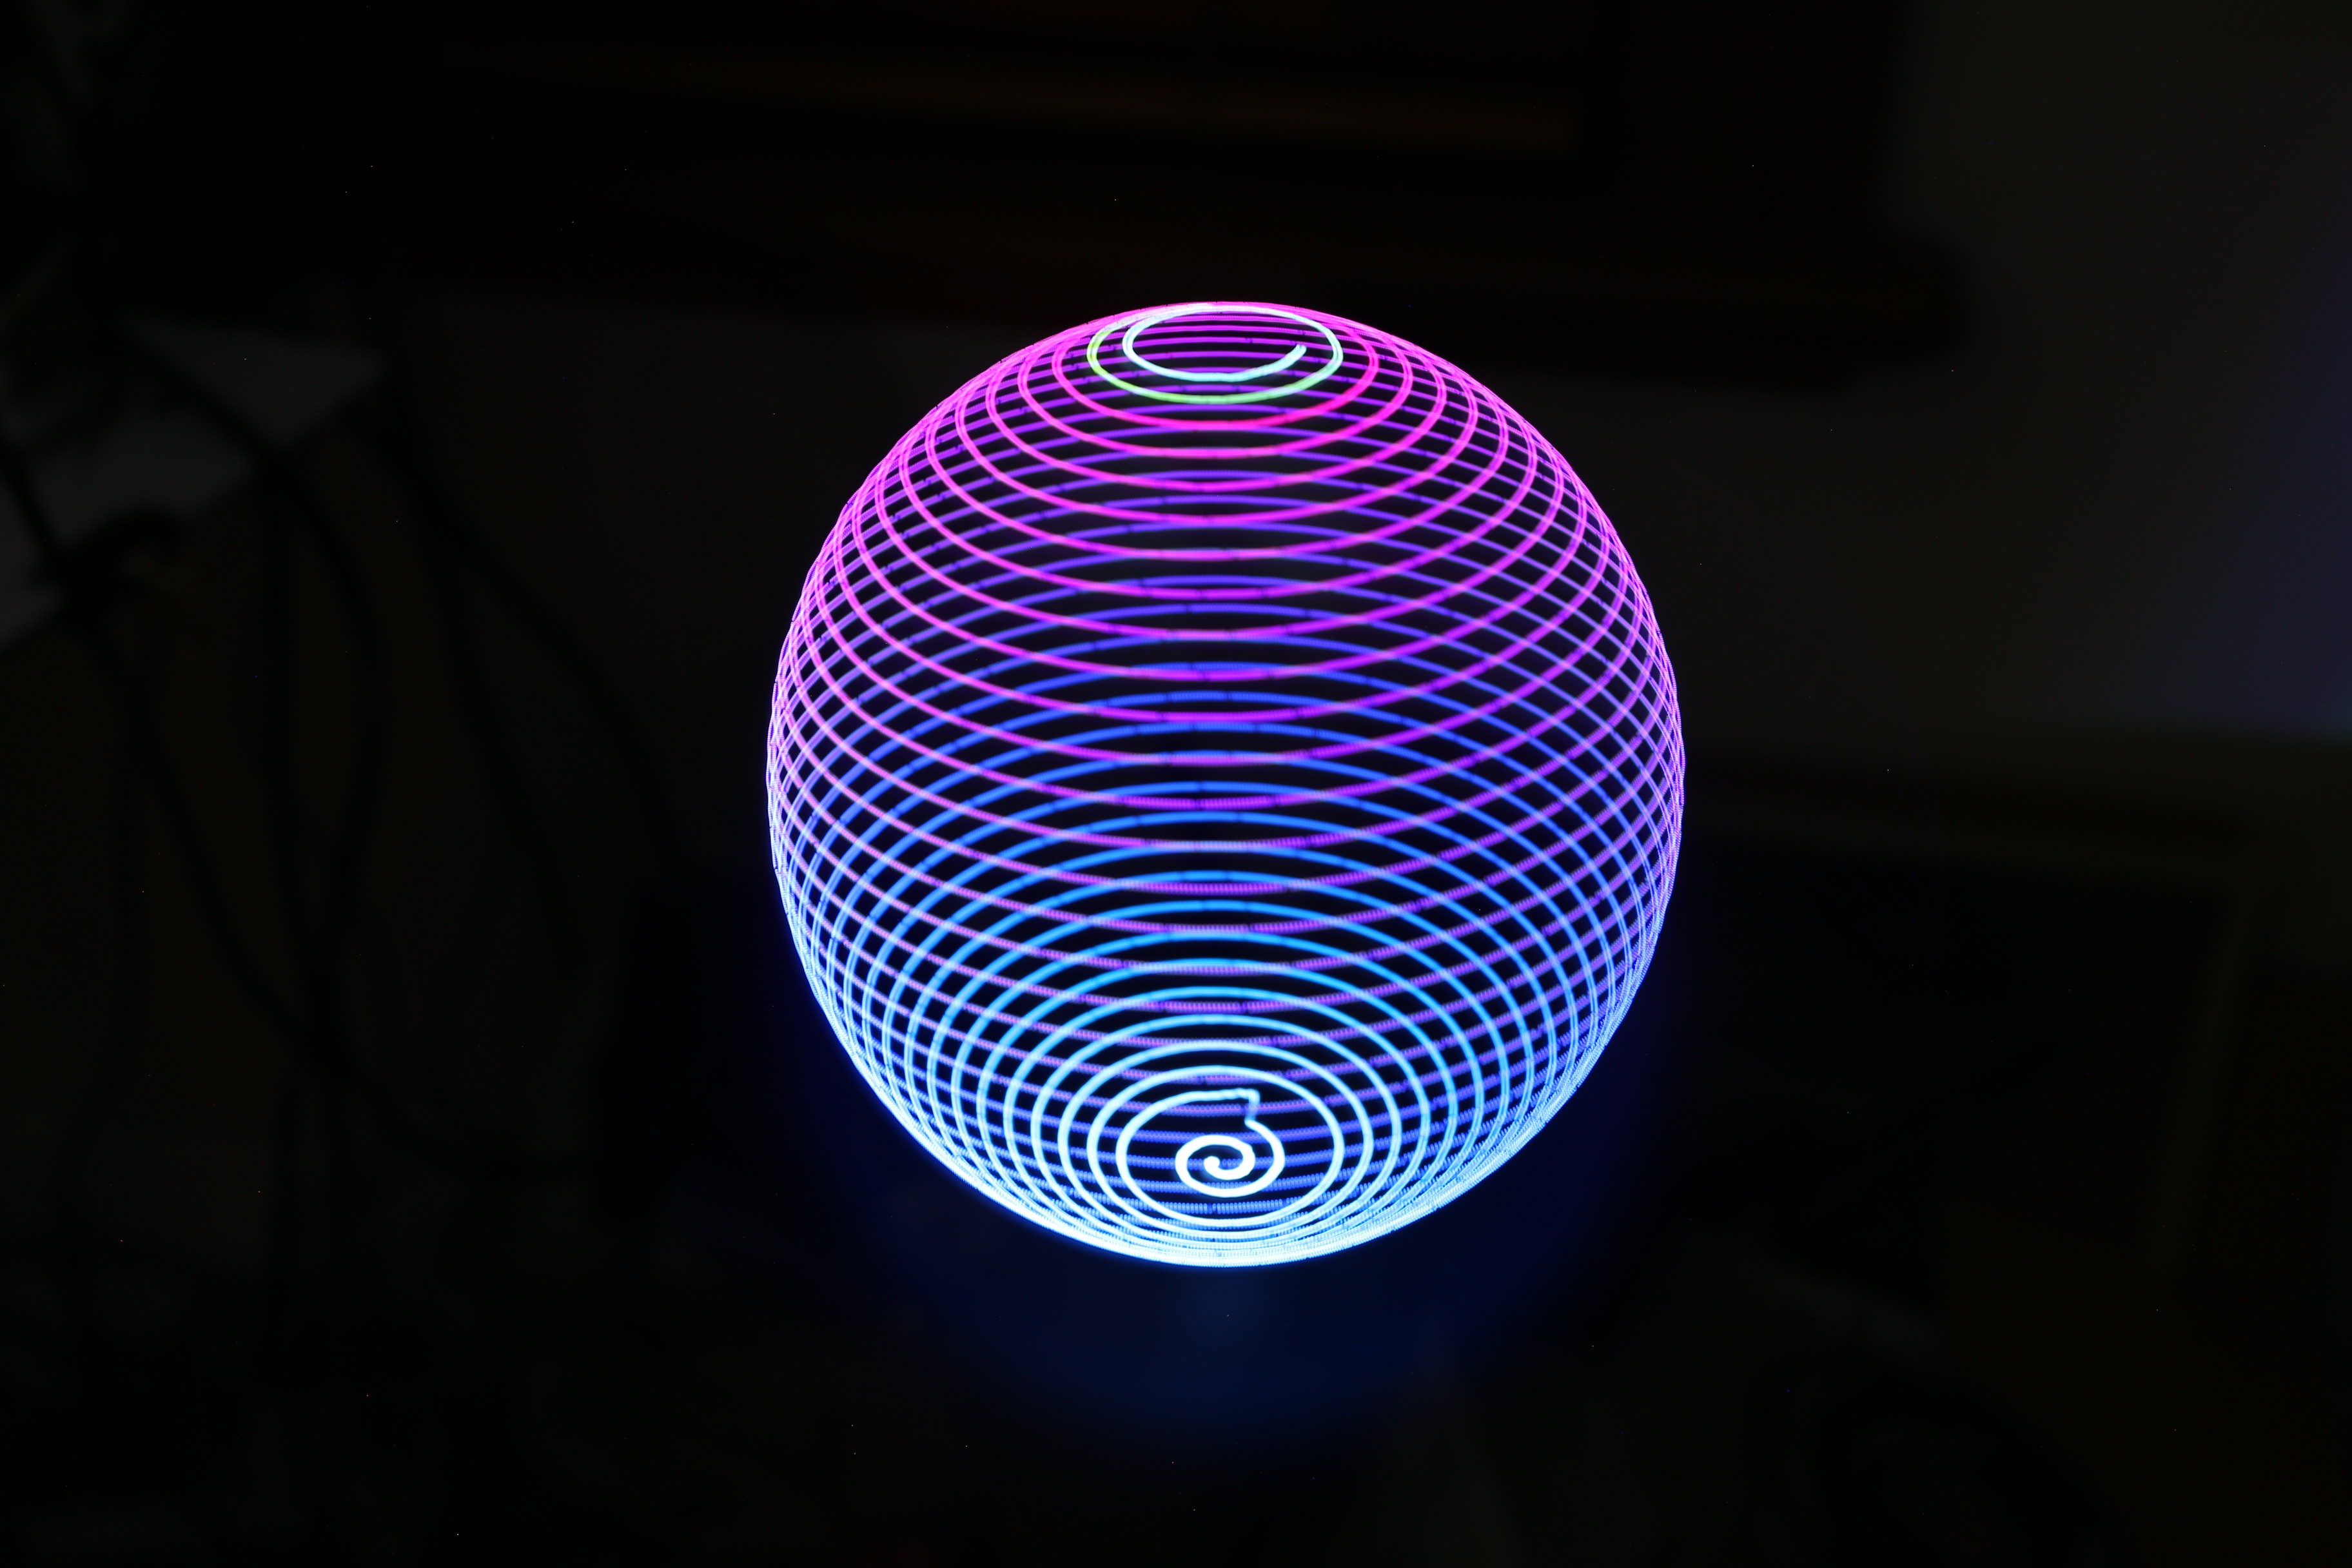
The next challenge is working out what looks good in motion.
Future work
We've barely scratched the surface of what's possible with this pipeline, and want to create some interesting creative pieces (and find some artists hopefully?).
Putting the delta, and/or camera on a slider is also something we'd like to try at some point.